


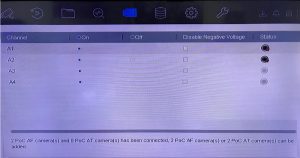
Power over Coaxial (PoC) Walkthrough Guide
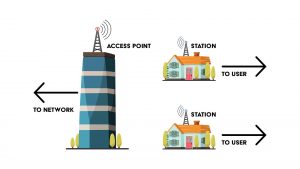
Power over Coaxial technology sends power from the BNC ports on the back DVR to the cameras right through the coaxial cable, eliminating the need for power to be supplied via a second cable or for the technician to find local power on most runs.