ST LIVE
MOBILE APP
Stay Secure with the ST-LIVE Mobile App: Protecting Your Business and Home, Anytime, Anywhere!

Introduction:
SecurityTronix proudly introduces ST-LIVE, our cloud recording service that allows you to connect to your NVR or DVR from anywhere in the world! With this cloud recording service, you can access all of your recordings directly from your phone/PC and download them in an instant, eliminating your need to rely solely on having a HDD to access and store recorded files.
With the ST-LIVE mobile app, you gain access to a range of practical and convenient features that facilitate on-the-go access and viewing of your security system. These include functionalities such as Playback, the ability to share live feeds with other accounts, and even push notifications for events. By utilizing the ST-LIVE mobile app, you can ensure the security of your business or home even when you’re not present.
The ST-LIVE mobile app also gives you the ability to view your camera feeds LIVE for immediate assurance. You can even add multiple recorders cameras to the same account and view them all live simultaneously! In addition, the Playback feature will allow you to go back to review events you may have missed right from your phone. You can also set up this app to send notifications & screenshots right to your phone and/or email for live event updates. If your recorder/cameras are tampered with or even stolen, this service stores your live feeds to the cloud instantly, giving you redundant recordings that you can access at any time!
ST-LIVE is a paid service that we offer to our customers. There are different rates, and fees depending on the amount of cameras, and data you would like to store in the cloud. For further details on pricing options, please contact your sales rep.
What you'll need:
- ST-LIVE Adapter and its Cloud ID (this can be found on a sticker on the side of the Cloud Adapter. Note that the Cloud ID is case sensitive)
- Username and password of the camera/recorder
- IP address of the recorder
- Smartphone or tablet with the latest ST-LIVE app (iOS 9 or above, Android 4.2 or above)
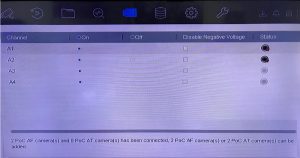
- Compatible DVRs/NVRs:
- All SecurityTronix DVRs/NVRs, and all ONVIF compliant devices including Hikvision / Uniview OEM product
- Internet / WAN access onsite
Installation Map: Cameras Recording to Cloud +
Local DVR/NVR
How it works: You can access your cameras connected to your recorder and/or stand alone cameras that are on your network.
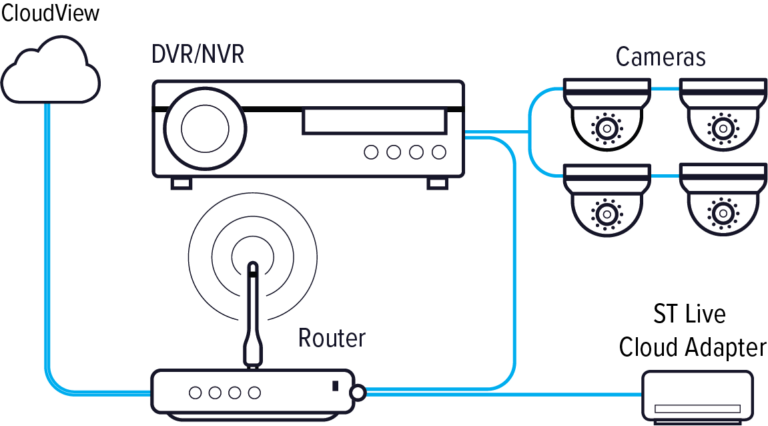
You can connect your cloud adapter right to your existing setup, or you can add it to your BOM for a new installation. Once everything is set up & configured, you can view your cameras live from the ST-LIVE app and the webpage.
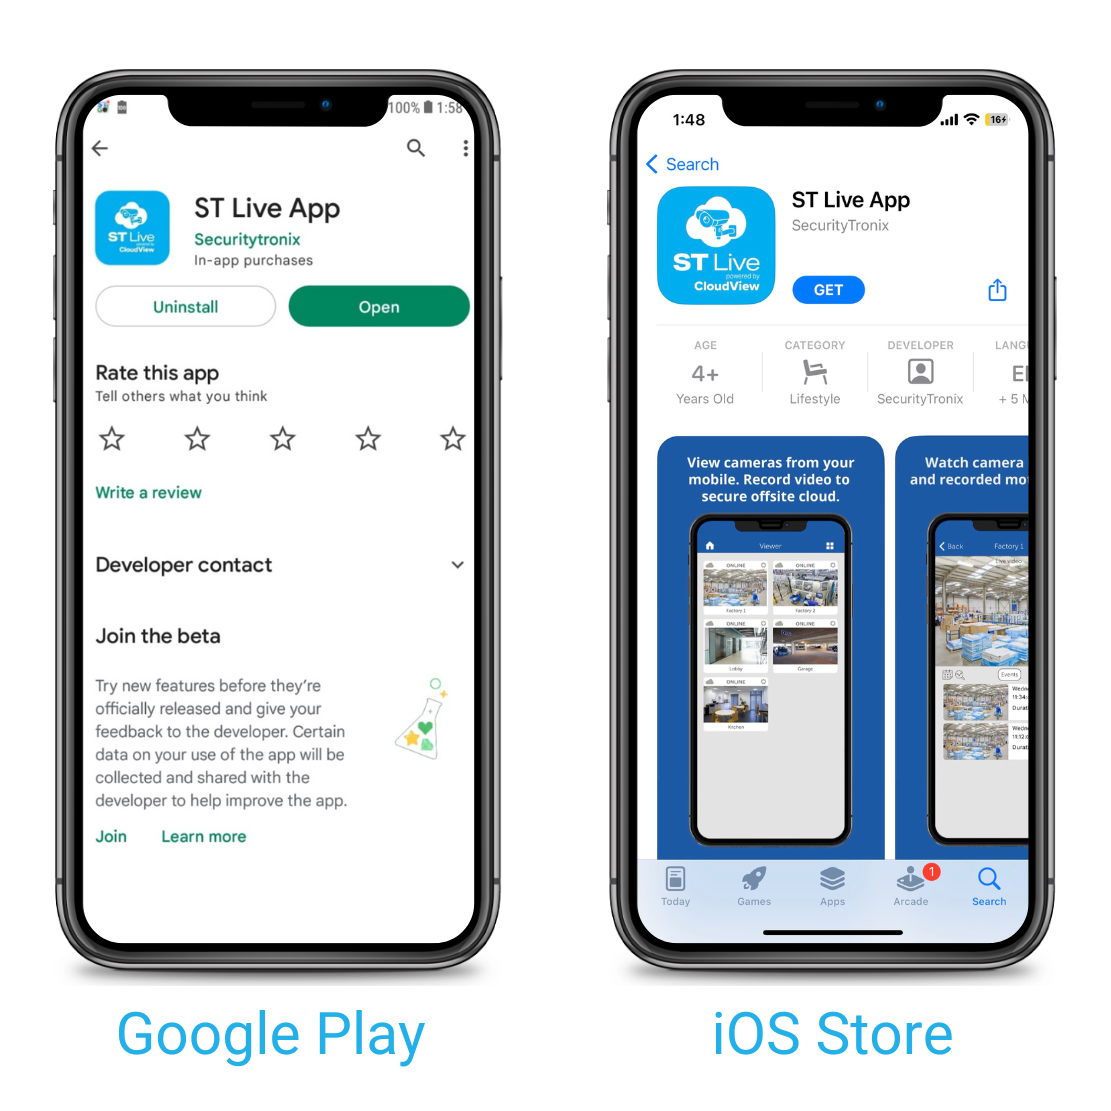
Android &
IOS Store
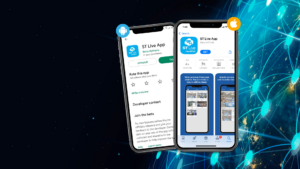
You can download the ST-LIVE mobile app from the App Store iOS and/or the Google Play store for Android.
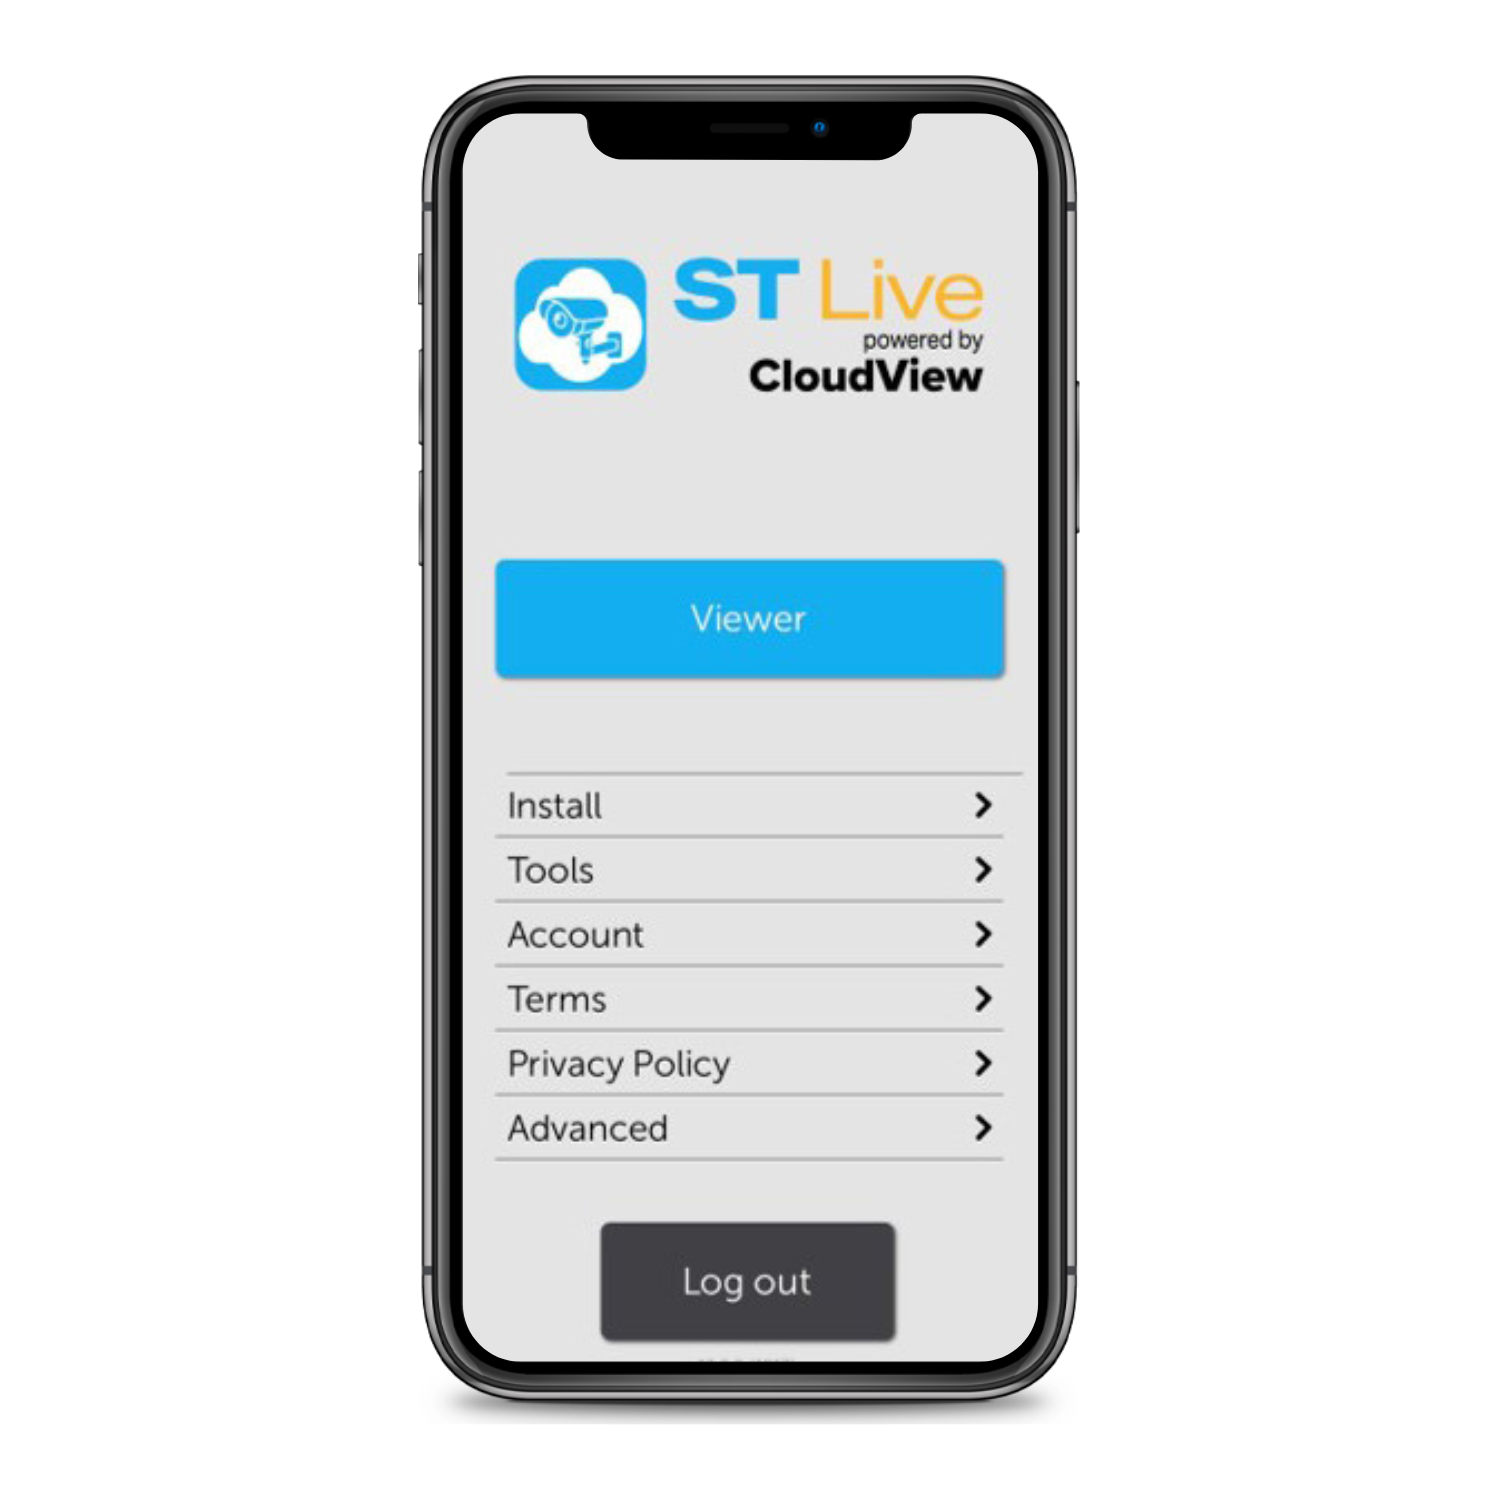
ST-Live: Home Screen:
- Viewer: View live camera feeds
- Install via Cloud Adapter: This section will be where you search your network for online devices, and add them to your account.
- Tools: Test the speed of your network
- Account: Account credentials / Add Users(iOS / Webpage only)
- Terms: Terms of Service
- Privacy Policy: ST-LIVE Privacy Policy
- Advanced: Non Cloud Adapter install — Feature N/A
- Log Out: Log out of the ST-LIVE account
Installing with Cloud Adapter:
Standby &
Recording Mode:
Inform your rep with the type of recordings you will want. The amount of feeds that you can set to continuous / motion recording will be predetermined by what plan you purchase.
You will be able to mix and match the different types of recordings for each channel if you like.
You can change the recording quality (which is also predetermined by what plan you purchase) by tapping next to “Recorded Video Quality”. You will be able to set the Live View video quality as well!
Analytics:
The Analytics feature will allow you to scan for people, animals, and even vehicles.
You can also set up alerts to have sent to your phone and / or email whenever this function is triggered.
Example of Phone Notification:
Once you enable Analytics, go to one of your camera’s live feeds, and select the magnifying glass icon.
This icon will allow you to select the types of alerts you want (Person / Vehicle / Animal).
Motion Detection:
You will be able to set up motion detection, and have alerts sent right to your phone / email.
First, you will need to set the “Motion Trigger level”. This will determine how sensitive the motion trigger will be.
Next, you will set the “Detection Zones”. This will let you set the zones or areas you want the motion detection triggers for your live views.
To get alerts, simply tap on the “Alerts on” button to turn on. Then set your alerts to Emails, Push Notifications, or Both!
Note: Motion Detection & Analytics Alerts are configured on this settings screen. However, you will only be able to have one of them send Alerts / Notifications to you.
Configuring Audio / 2-Way Audio:
If your camera has a built-in mic or you connected a mic to the camera, you will be able to listen to audio through the app.
Tap the button next to “Sound On” to enable the audio. This will allow you to hear the audio through the app as well as the web browser.
For “Two-way Audio”, you will need a mic & speakers connected directly to you the camera, and have the audio enabled for your camera.
Once you have your camera set up for audio, bring up the live view of the camera in ST-LIVE, and tap on “Mic” icon to bring up the “Two-way Audio” feature.
Tap and hold the microphone button to begin the Two-way Audio transmission (you will have about 10 seconds of time to speak into your phone). The audio will be transmitted to the speakers.
Schedule Settings:
The “Camera Schedule & Alert Schedule” will allow you to set times for your cameras to start & stop Recordings/Alerts.
Tap on the day you would like to set the times for, and you will be able to “Add schedule event”
This will let you set a “Start/Stop” time for each day.
Once you set the times(Start/Stop), you will be able to apply this to all of you cameras by selecting “Apply to all cameras”.
You will also be able to copy your “Start / Stop” times for the rest of the week or each day you want to mimic your settings. Tap “apply to other days”, and select each day you would like to copy your time settings to. Select “Save” once you are done.
Conclusion:
ST-LIVE(Powered by CloudView) is much more than just redundant cloud storage. You can utilize this service to monitor your live feeds remotely, and set up analytics to be alerted for when there is activity on your live feeds as well.
If you have any questions about any SecurityTronix product, please don’t hesitate to contact us:
SecurityTronix Support Line – (610) 429-0334
SecurityTronix Support Email – support@SecurityTronix.com