STGO2 Cloud/P2P Mobile App Installation and Setup - Part 2

Introduction

In Part 1, we introduced the mobile app, reviewed some of the key features, and walked through installation. In this article, we’ll review some of the more advanced settings.

The STGO2 app has even more features that will help keep your home and business protected. Even if you are away, you will still have instant access to live video, playback, LIVE PTZ/MZ (pan, tilt, zoom/motorized zoom) controlling, and zooming. (Only available with PTZ/MZ cameras.)

You will also be able to set up LIVE notifications that are sent directly to your phone. You can set up your account to allow the STGO2 mobile app to send push notifications for live events.

In the event something does happen and you need to get police involved, there are many options you can utilize from the STGO2 mobile app, such as: instant playback screenshot, instant playback video clipping, and even digital zooming instant playback.

Lastly, we will cover DDNS, and how to configure this service in your recorder. We will also cover how to connect to your mobile app, and more settings with DDNS through the STGO2 mobile app.

Live View - Features and Controls

Let’s start off with changing your streaming type between “Basic/SD” and “HD”. At the bottom left-hand side of your screen, you will see the square icon with “Basic/SD’ or “HD” inside. You can simply select this icon and change your steaming type. “Basic/SD” will make your live view in standard definition, and “HD” will make your live view in high definition.

The “magnify glass” icon will be the “digital zoom” feature. Once you full screen view a camera stream, you can select the “magnify glass” icon for a digital zoom view of LIVE video. You can select this icon several times for up to 8.0X digital zoom. You can also swipe your screen up, down, left and right to move the zoom to different areas of the live video.

The digital zoom works best with high resolution cameras. The more megapixels your camera has, the better the digital zoom feature will look.

The “camera” icon will allow you to screenshot live streaming video. Once you tap on this icon, an image will be sent to “Pictures and Video” under “More” at the bottom right-hand side of your screen.

Select “Pictures and Videos” to see your live view/playback screenshot pictures and video clips listed. Choose the desired image/video for full screen view. You can download, play (video), and share these saved pictures/clips as well.

You will have about 7.7 gigabytes of memory to save images / videos as shown above in the left image.

You can also make video clips of your live feeds for later review and even downloading. Select the “video camera” icon to start the clip, and select again to end the clip. These video clips will be saved to “Pictures and Video” under “More” at the bottom right-hand side of your screen.

Select “Pictures and Videos” to see your live view/playback screenshot pictures and video clips listed. Choose the desired image/video for full screen view. You can download, play (video), and share these saved pictures/clips as well.

On top of remotely viewing your camera feeds, you can also control some cameras directly from the STGO2 mobile app. If you have a Motorized Zoom and/or a PTZ (Pan/Tilt/Zoom) camera you can use the “PTZ” feature in the live view.

Select the “joystick” icon to bring up the “Pan and Tilt” tab in the app. You will be able to control your PTZ or Zoom/Focus your Motorized Zoom camera from this tab remotely. You will also be able to take screenshots, video clips, and digitally zoom from the “Pan and Tilt” tab.

***IMPORTANT*** You may experience some delay in the response time when trying to control your cameras remotely via the STGO2 Mobile App.

Additionally, you can use the “Pause” icon to stop and start (once paused) live video through the STGO2 Mobile App.

PTZ CONTROLS AND FEATURES

The “Pan and Tilt” tab will allow you to move and point your PTZ camera remotely at the desired location. Press and hold the “joystick” and move it up, down, left or right to move the camera. The “Preset” tab will allow you to Set, Delete and Call presets. You can change the presets to Set, Delete or call by scrolling over the number.

The “More” tab will allow you to manually zoom and adjust the PTZ speeds.

MOTORIZED ZOOM CONTROLS AND FEATURES

Select the “joystick” icon to bring up the “Pan and Tilt” tab. This will allow you to use the digital joystick to Zoom and Focus your camera remotely.

The “Preset” tab has no functions for the Motorized Zoom cameras. So, we will move right along to the “More” tab. Instead of using the digital joystick, you can use the zoom and focus icons for remotely adjusting your feeds.

The “PTZ Speeds” icon has no functions for the Motorized Zoom cameras.

Notifications: Enabling and Settings

Setting up notifications for your security system is a good way to get instant alerts sent directly to your phone. There are multiple ways to configure how and when you get push notifications sent to your STGO2 Mobile app. First, we are going to go over how to set up notifications from your recorder.

Let’s start with the different types of “Events” you can enable through the “V3” and “V4” firmware of your recorder. 

With the “V3” firmware you will only have “Motion Detection” available to set up alerts/push notifications. 

Select Menu > Camera Management > Motion. Once you select “Motion” from the list on the left-hand side of your screen, you will be able to configure your setting. Select the camera you want notifications from, “Enable Motion Detection”, set the “Motion Detection” area, and adjust the sensitivity. Once your “Motion Detection” settings are set, click “Apply” at the bottom to save. You will now click on the cogwheel icon next to “Settings”. Once you are in the settings click “Linkage Action”, select “Notify Surveillance Center”, click “Apply” and “OK”. Make sure to click “Apply” at the bottom again on the “Motion” main page.

The “V4” firmware has “Motion Detection”, “Line Crossing”, and “Intrusion Detection” available to set up alerts/push notifications. 

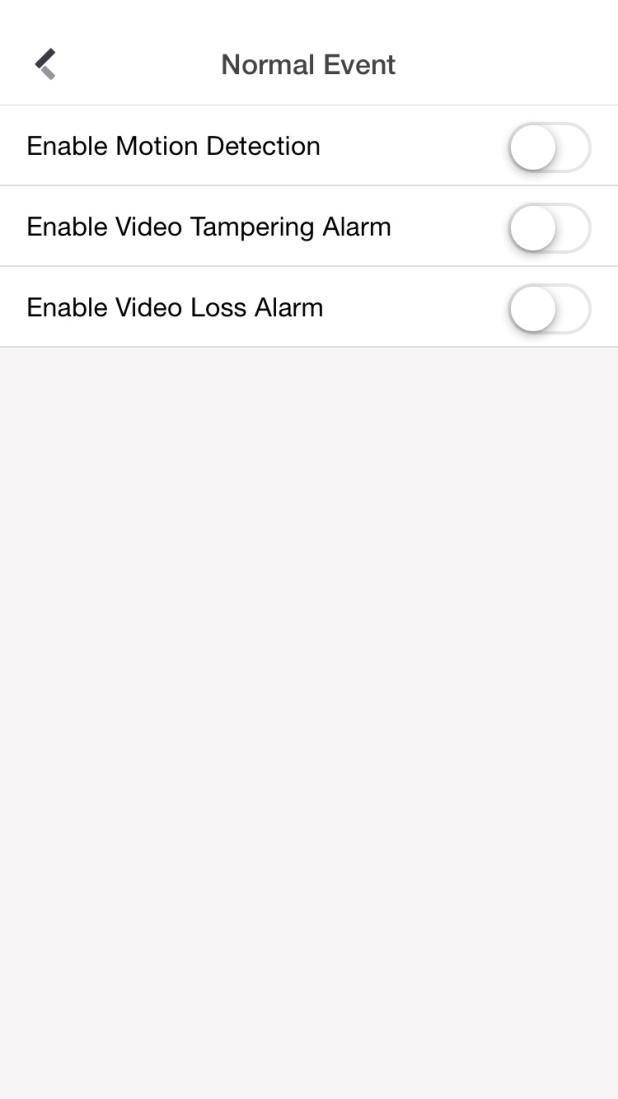
To set up “Motion Detection” select System > Event > Normal Event > Motion Detection. Select the Camera you want notifications from, “Enable Motion Detection”, set the “Motion Detection” area, and adjust the sensitivity. Once your “Motion Detection” settings are set, click “Apply” at the bottom to save. Now click on “Linkage Action”, select “Notify Surveillance Center”, and click “Apply”. 

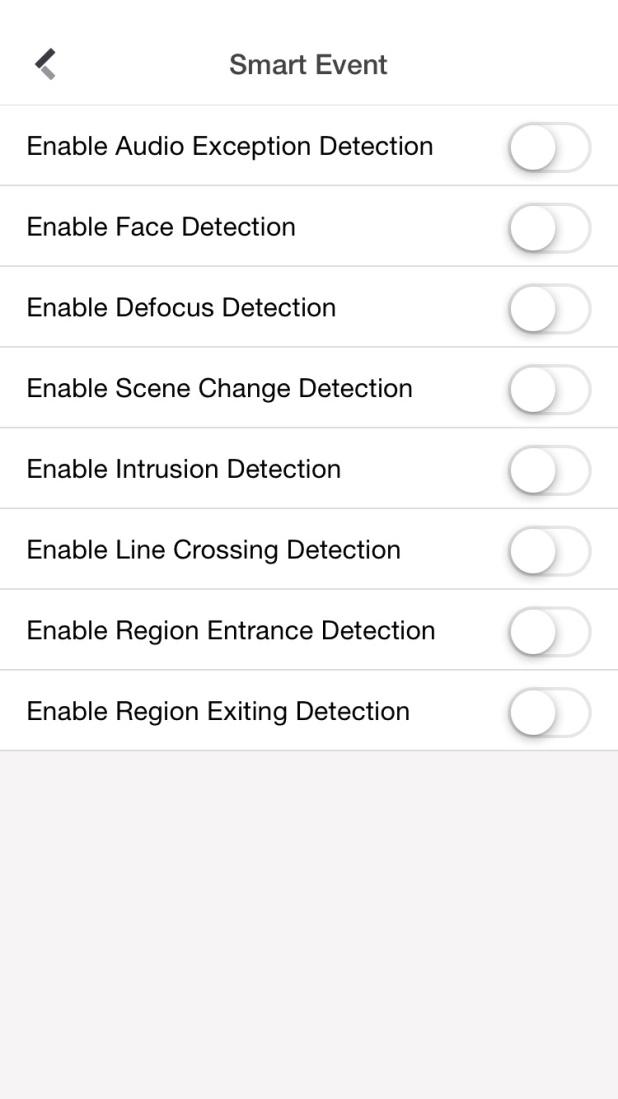
To set up “Line Crossing” select System > Event > Smart Event > Line Crossing. Select the camera you want notifications from, “Enable Line Crossing Detection”, set the “Line Crossing” area, and adjust the sensitivity. Once your “Line Crossing” settings are set, click “Apply” at the bottom to save. Now click on “Linkage Action”, select “Notify Surveillance Center”, and click “Apply”.

To set up “Intrusion Detection” select System > Event > Smart Event > Intrusion Detection. Select the Camera you want notifications from, “Enable Intrusion Detection”, and set the “Intrusion Detection” area. You can also set virtual planes, time threshold, and adjust the sensitivity. Once your “Intrusion Detection” settings are set, click “Apply” at the bottom to save. Now click on “Linkage Action”, select “Notify Surveillance Center”, and click “Apply”.

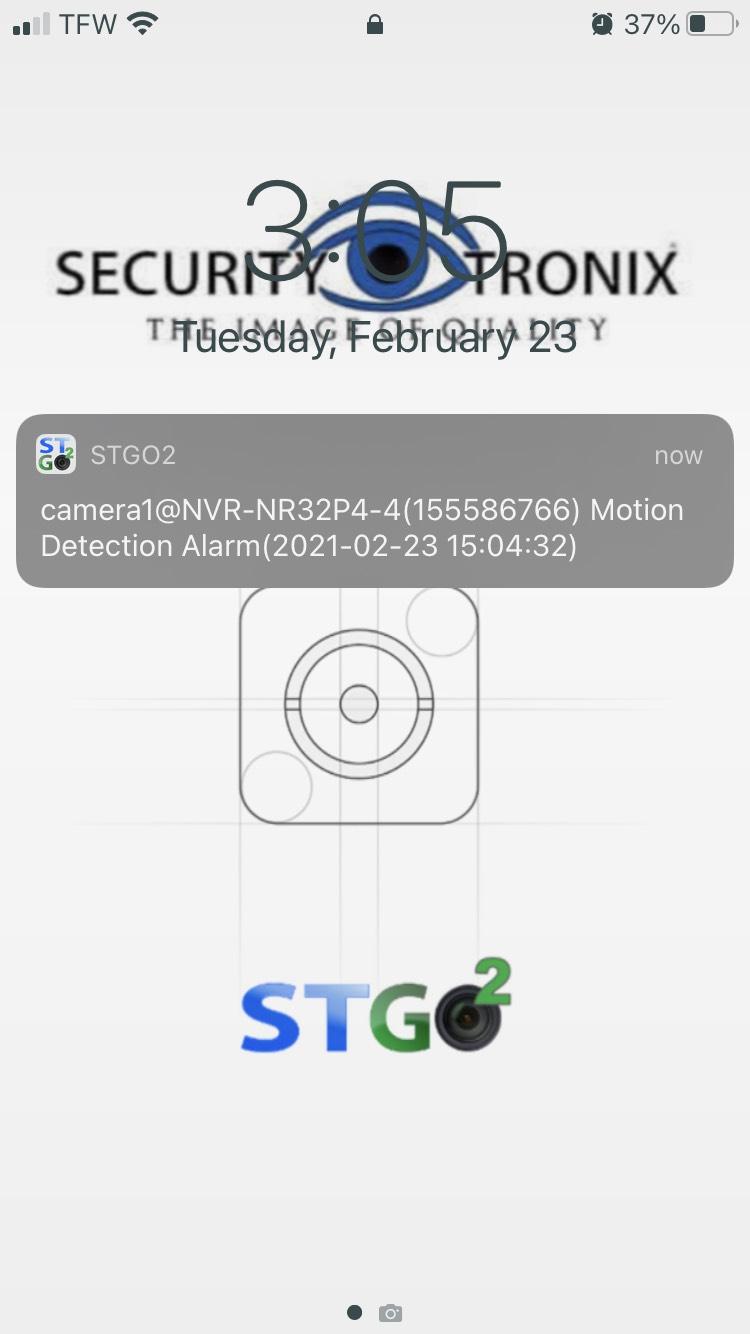
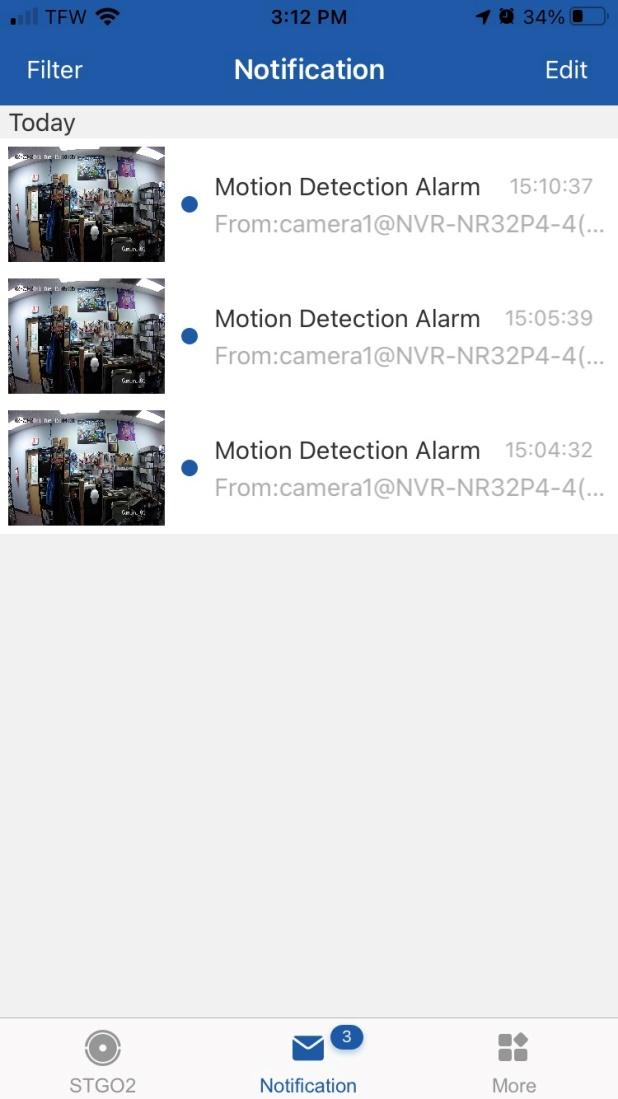
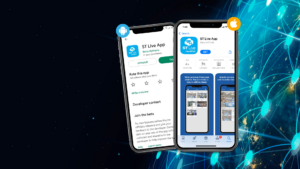
Once you have your recorder’s event(s) set and all settings have been applied properly, you will now need to enable/configure settings through the mobile app to start receiving the notifications. 

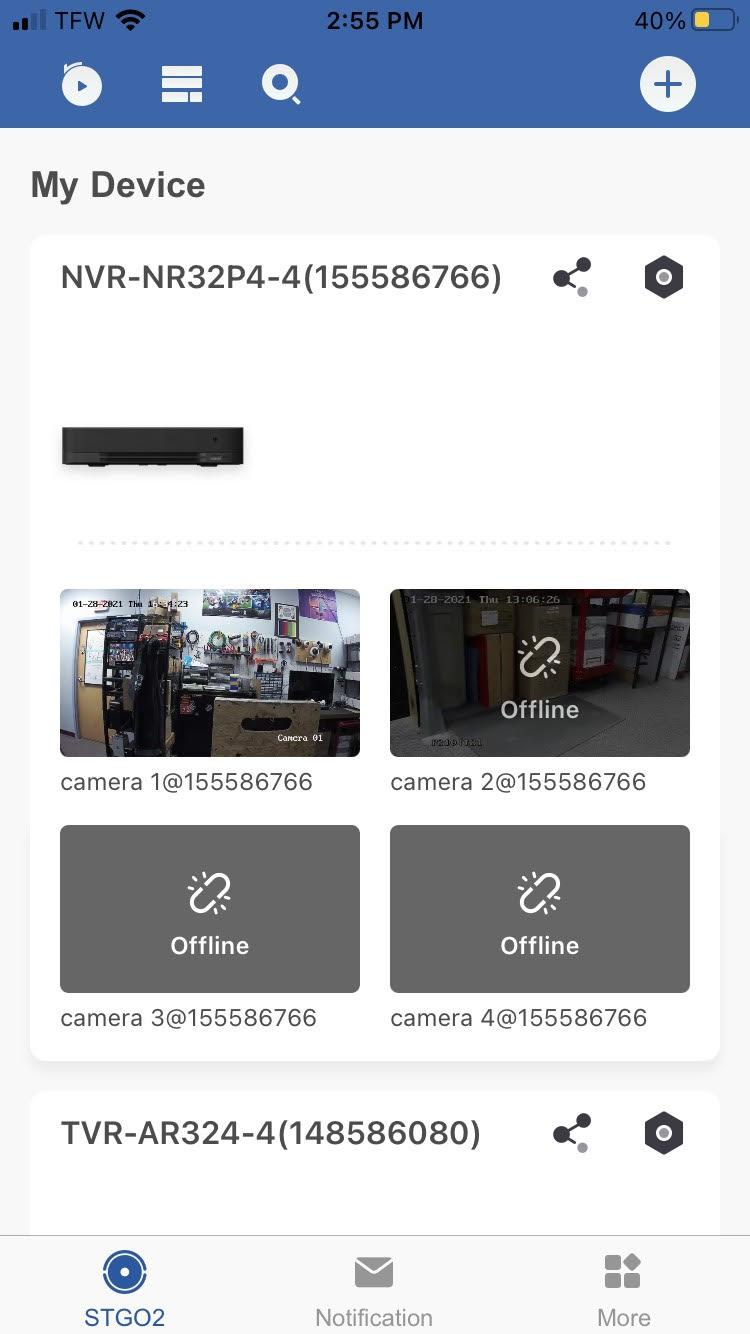
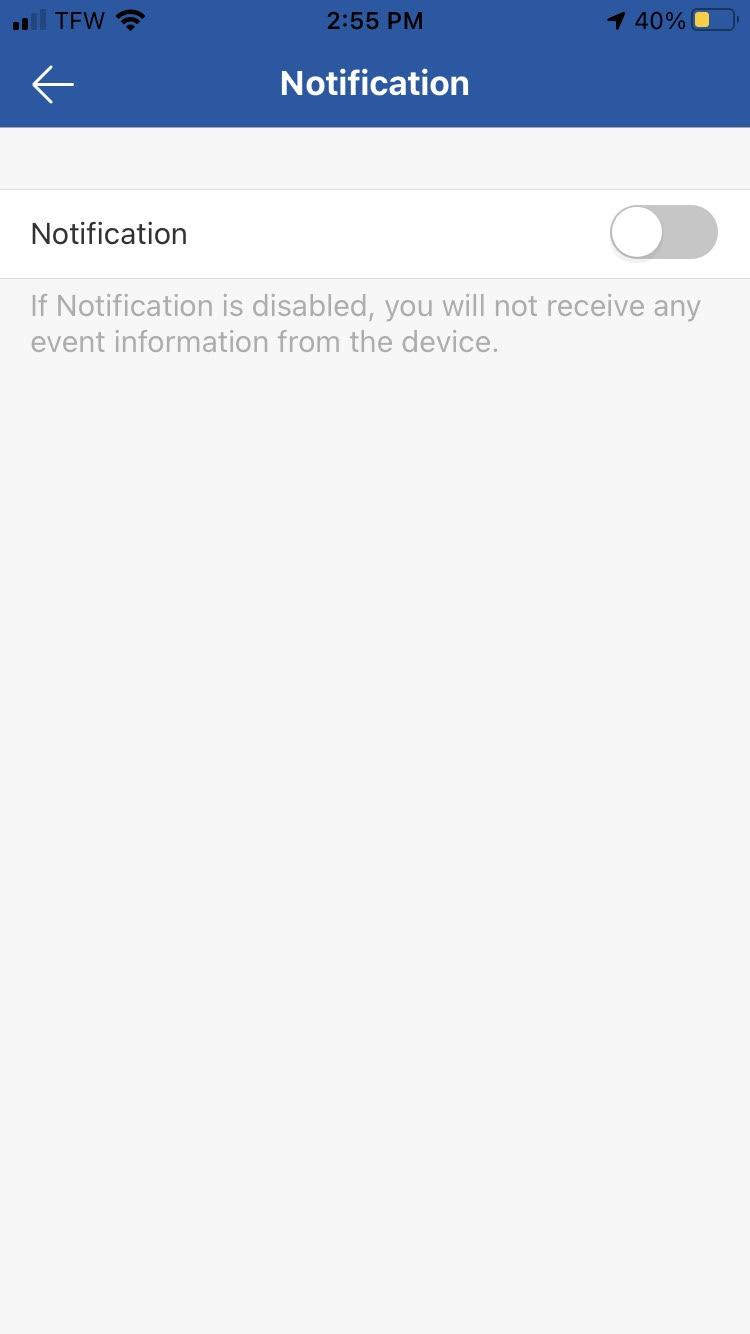
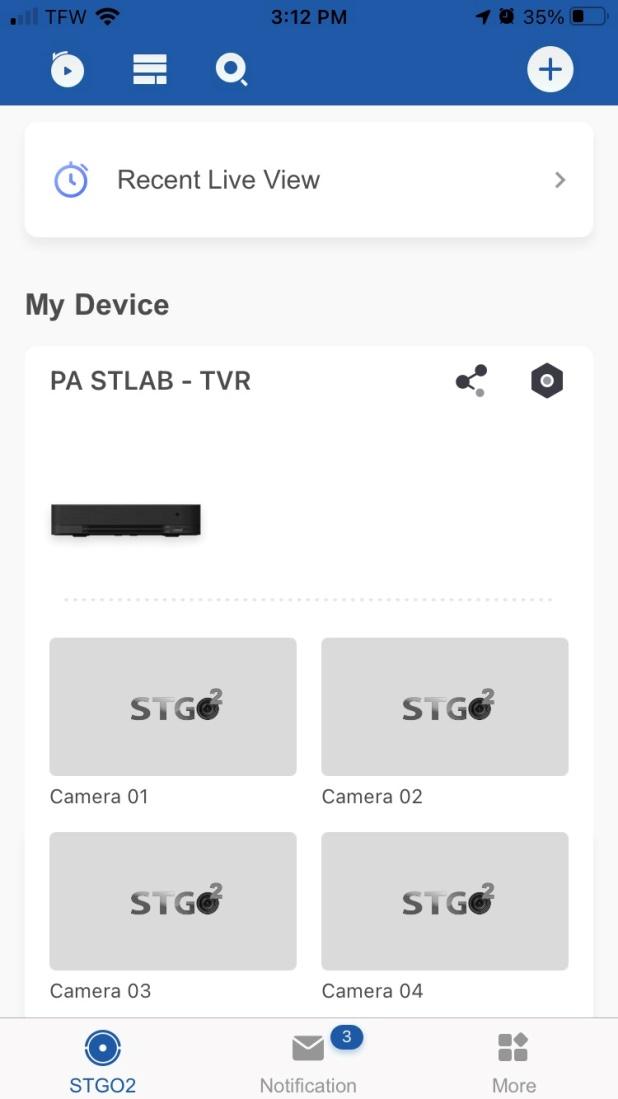
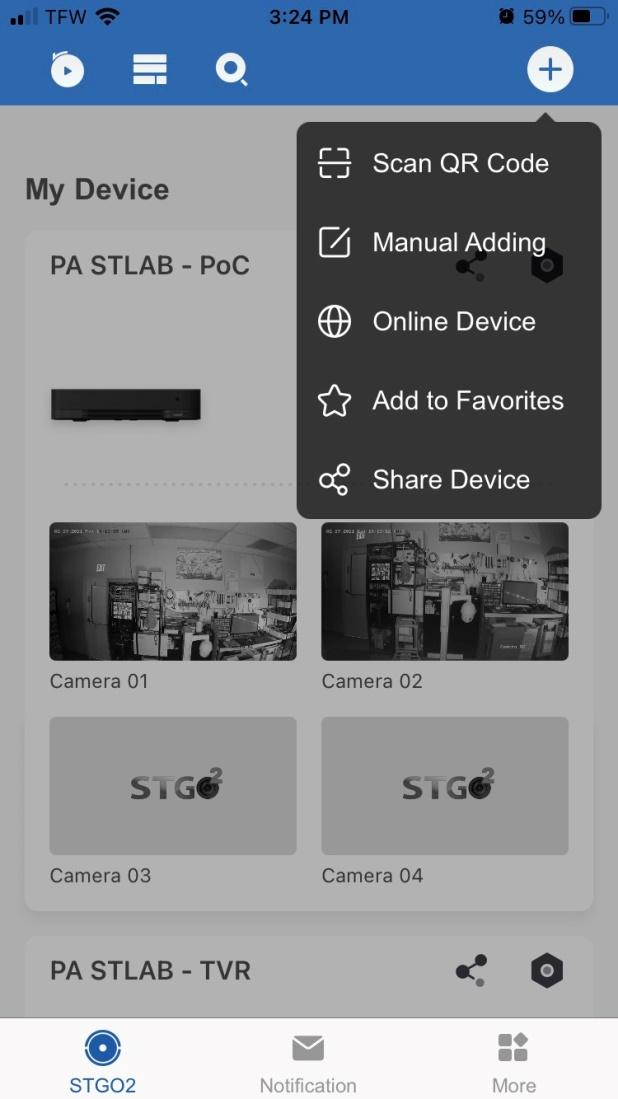
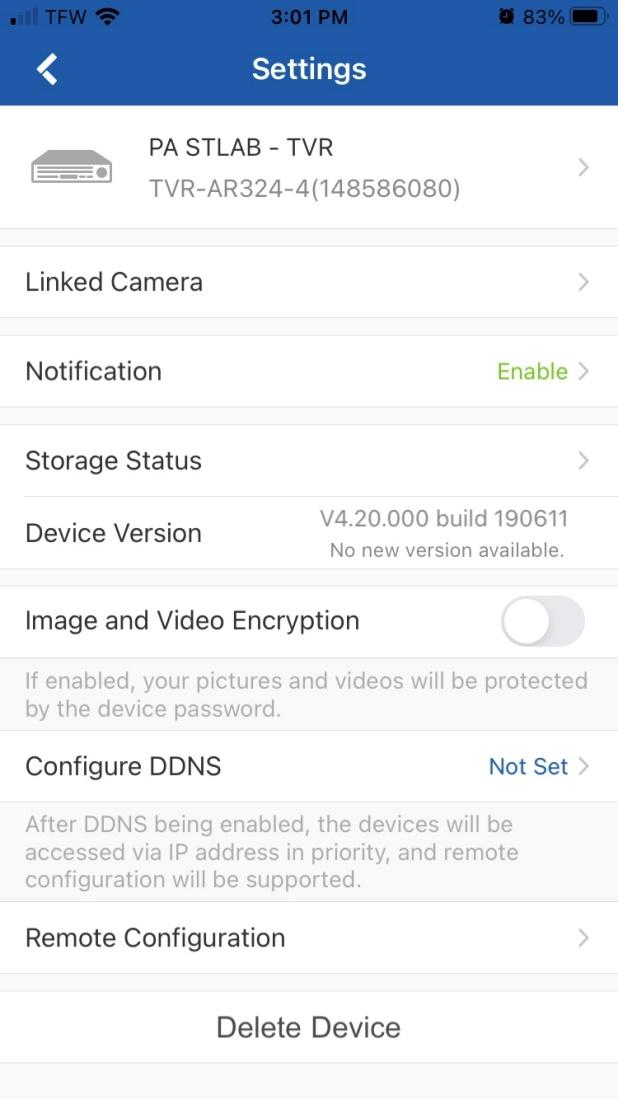
Select the settings (hexagonal) icon on the right side of your screen next to your device you want to get notifications from. Under “Settings” select “Notification” and you will be brought to the “enable” screen.

Tap on the switch to turn it to the “On” position to enable, and reveal more configuration options.

You can also set a schedule for when you want or don’t want to receive notifications. This can be done though the recorder under “Arming Schedule” as well when configuring your events.

Now it’s time to check your notifications and view alerts. When there is a Motion Detection, Intrusion Detection or a Line Crossing event, you will see a notification on your lock screen. You can tap on this notification and you will be directed to the alarm playback screen.

You can also access your alarms by logging into the app and selecting “Notification” at the bottom. You will now see a list of alarms that are able to be viewed. Select an alarm to view a playback video clip of the event.

At the top right-hand corner of your screen, you will see “More”. This option will allow you to go directly to the live view of the specific camera or save the video clip directly to your phone’s storage.

Select “Playback” and you will be able to view a small clip of the event. You can take screenshots and clips of this video that will be saved in the app under “Pictures and Videos”.

DDNS: Setup and Configuration

If you have your device set up with DDNS you can utilize this in the app as well. This will allow you to remotely view your cameras, and configure some setting of your NVR right through the mobile app.

***IMPORTANT*** Make sure you forward the following ports in your router before proceeding: 80/8000/554

First, make sure your device has already been configured with DDNS and the status is reading “Normal”. Once your DDNS is confirmed, go to the STGO mobile app for manual adding. To do this, select the plus symbol at the top right-hand corner, and select “Manual Adding”. The “Adding Type” will be “IP/Domain”, “Alias” will be any name you would like for the recorder, “Address” is the DDNS address you have configured into your recorder, “Port” will be one of the ports you forwarded, and “User Name/Password” will be the User Name / Password of your recorder.

Once you have your credentials completely filled out, you will select the save icon in the top right-hand corner. If everything is configured and connected properly, you will now be able to remotely configure your device. Select the “More” icon (three dots) in the bottom right-hand corner of your screen to bring up, and select “Remote Configuration”.

Under “Remote Configuration” you will see a list of options to select from. Selecting “Basic Information” will give you the option to change the “Device name” and the “Device No.”. You will also have access to other device information.

“Time Configuration” will allow you to change the Time Zone and/or synchronize the time with your phone’s current time settings. 

“Change Password” will allow you to change the password of your recorder.

“Recording Schedule” will allow you to select a camera and set up/modify scheduled recordings for your device.

“Normal/Smart Events” will allow you to select a camera, and enable any available event that the camera (you selected) can support. These events will have to be configured in the recorder beforehand.

DDNS Alternative Configuration

You may add an “online” device via the QR Code scanner/serial number as normal and still configure DDNS in the app. Once you have your recorder added to the P2P account, go to the settings, and select “Configure DDNS”. You will see the following options: Device Domain Name (Name you Device), Port Mapping Mode (Auto / Manual port mapping), Server/HTTP Port Number, and User Name / Password (Recorder’s login credentials).

Once you have all of your credentials filled out, you can select the save icon and begin the remote configuration for your recorder as needed.

This concludes Part 2 of the STGO2 bulletin. We hope this document has been informative and stay tuned for next month’s bulletin where we will cover our new Chroma Series cameras. If you have any questions about any SecurityTronix products, please don’t hesitate to contact us @:

SecurityTronix Support Line: (610) 429-0334

SecurityTronix Support Email: Support@SecurityTronix.com